-
Extensive collection of historical photos from 1850 to 1940. Great tool for enhancing history lessons.
-
Graphing Stories - 15 seconds at a time
"Real World" videos by Dan Meyer and Buzz Math focusing on graphing measurement themes. Videos cover topics like height, distance, time and elevation. Videos can be downloaded to avoid buffering issues.
-
Free online history resources and videos
-
This site will let you see what 200 calories worth of french fries vs. lettuce looks like. You can get nutritional information on various foods including some fast foods..They'll even show you what to do to burn those calories off. This site has not officially launched yet, but has some great information for health and FACs classes.
-
This blog has some great ideas for apps that can be used by the PE Teacher. Jarrod, the author of The PE Geek, also provides resources for using 21st century tools in the PE.
Thursday, February 28, 2013
Website Wednesday

Tuesday, February 26, 2013
What to do with a snow day!
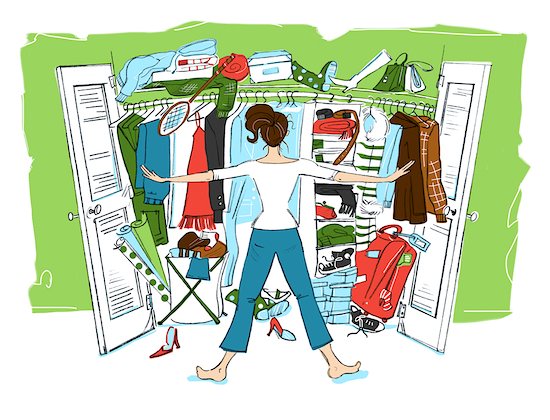 We are into our 4th snow day with a weekend in between! Ever wonder what educators do on their snow days? Some will spend time entertaining their children who are also stuck at home. Some will watch movies, read a good book, play video games and shovel their sidewalk and driveway. Some will clean their house, cook or bake, and clean out that closet that has been haunting them for months. A few will get out the computer and write up lesson plans or search for new lesson and classroom ideas to pin on Pinterest. While an even smaller percent will work on that college class they are taking and try to complete the project that is due this week.
 |
| Grandmother's door and window |

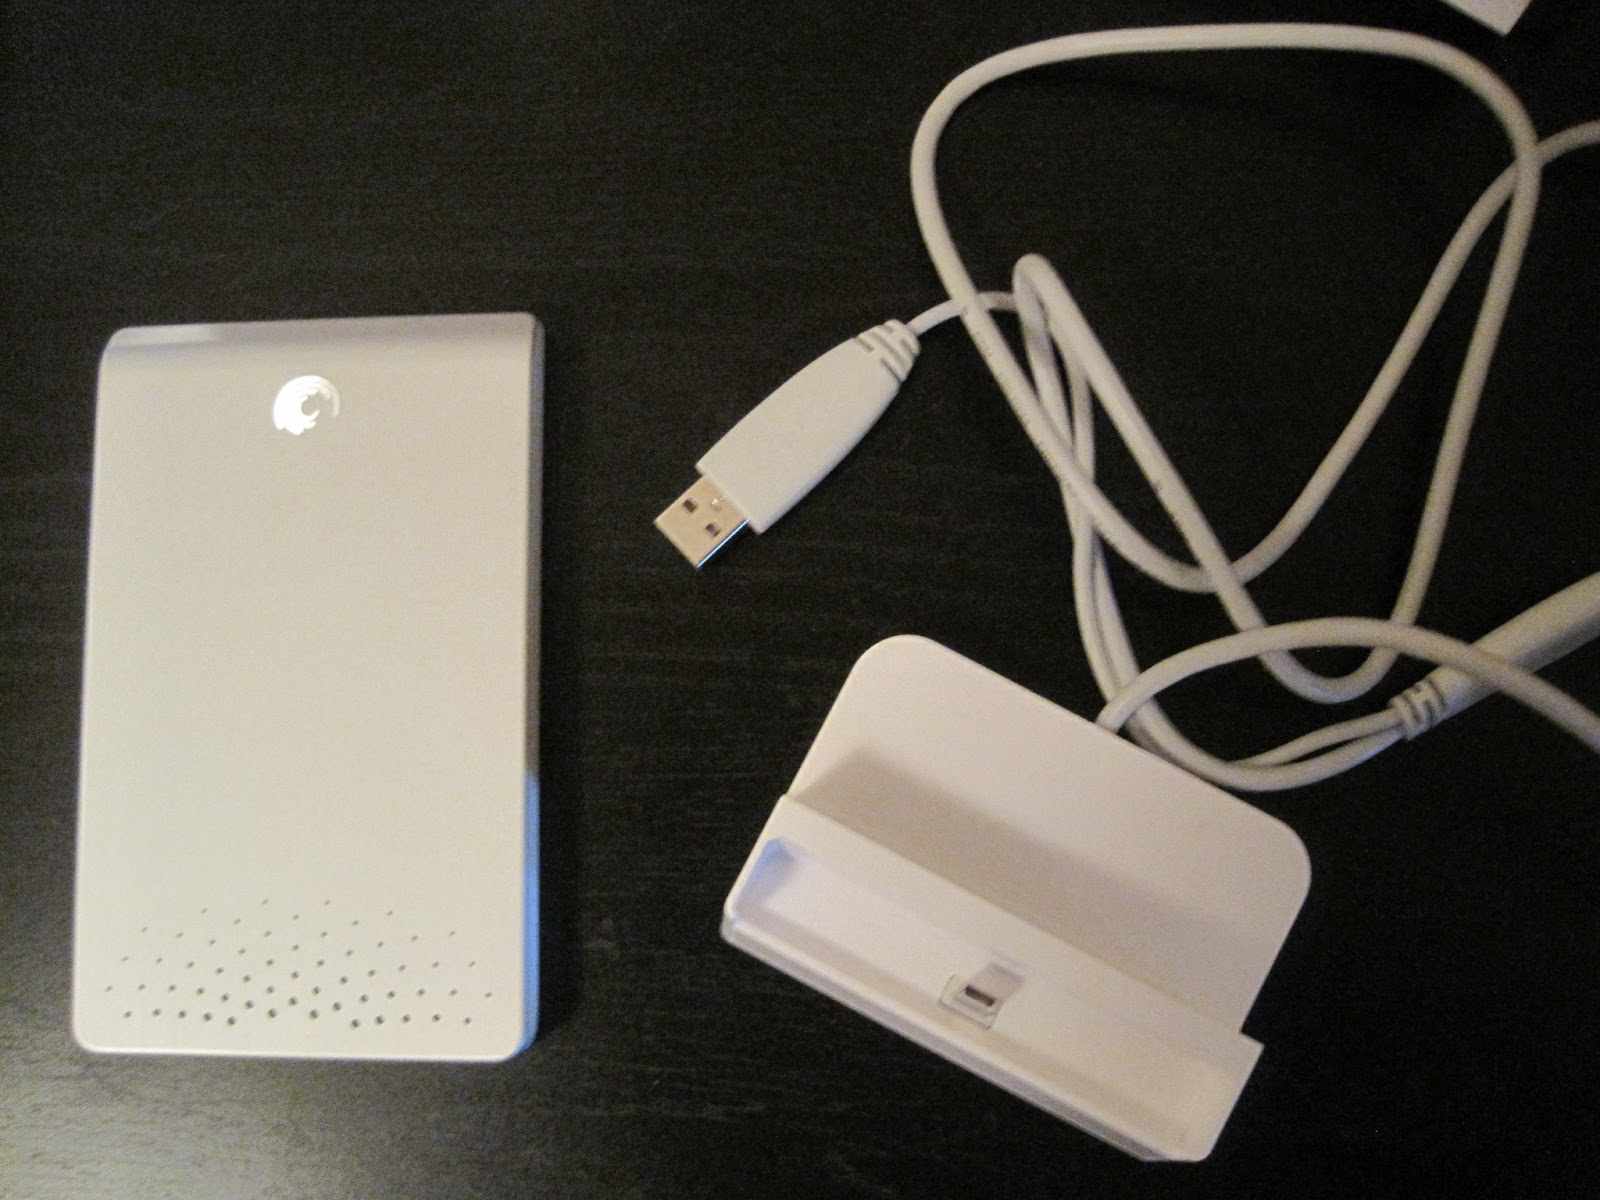
2. I uploaded all formats of documents - Word, Pages, Keynote, pdf, etc. I also upload images, videos and a few audio files. While I can't directly open some of these files in Google, I can download them onto my computer - or a new computer if something happened to mine. I also weeded out any files and documents that I don't need or use any more.
3. I deleted documents and files from my computer that I don't use regularly or are a pdf format after I uploaded them to Google. This was a personal choice, which allowed me to free up some space on my computer.
After I finished with this project, I moved on to my photos. While I don't have thousands of photos on my school computer, I do have quite a few on my personal computer. Since I already have a gmail account, I decided to use Picasa - this is a Google product - to store my photos in the cloud. I did discover that Picasa with my school email looks different than with my personal email. I have a Google+ account with my personal email which accounts for the difference.
 |
| Picasa with school account |
 |
| Picasa with personal account |
Here's how I got started:
1. I went to the Picasa website - https://picasaweb.google.com/home
2. Logged in with my email account. If you are using a personal account, it will have your sign up Google+ as part of the process. What is Google+? In a nutshell, this is Google's version of Facebook.
3. I clicked on upload, entered the name of my album and did a drag & drop of photos from iPhoto into the album. This worked in most cases, but I did have a few times when I had to take the photos from iPhoto, put them in a folder on my desktop and then drag them over from the folder to upload them into Picasa. I don't know why, but as long as I had a work around I don't care about the why.
Since doing this with my photos, I found that I can send directly to a Flickr account from iPhoto. Here's how:
1. Open iPhoto
2. Click on Share
3. Choose Flickr
4. Choose set-up

6. Once you've authorized the Flickr account to iPhoto - read and follow the instructions - you can start uploading photos.
*Note: If you have movies within an event, then make sure you go into the event and just choose the photos to upload.

I finished up with my photos on Sunday and decided it was time to tackle the music. I don't know about others, but I have more music and audiobooks on my computer than photos. I think it's because I work better with music playing in the background. I'm one of those people who would love to have theme music playing as I go through each day. Sometimes a piece of music does pop into my head and starts playing during certain situations.
Tuesday, February 19, 2013
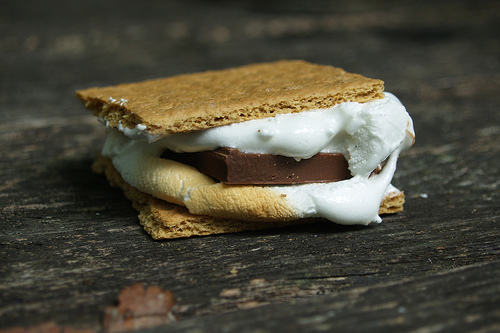
S'more - not just for eating

On this winter day, my heart was elated to find another s'more. It might not be ooey, gooey, chocolatey, but it's still a great treat to explore! Smore is an online flyer creator that can publish your flyers instantly via Facebook, email or embedding to a website or blog. When you create your flyer, you can add text, photos, videos and audio. You can choose from various design backgrounds and colors. The most difficult element in creating a flyer is deciding what you would like to say.
Here is a completed smore flyer:
S'more photo by Colin Purrington http://www.welovedc.com/wp-content/uploads/2008/12/smore-by-colin-purrington.jpg
- advertising school or class events
- creating book reports
- creating profiles on historical figures
- making an order of operations poster
- explaining the food chain or water cycle.
Wednesday, February 13, 2013
Website Wednesday
-
Online Jeopardy template creator. Create you own Jeopardy games or search & borrow games created by other people.
-
Friday Five: 5 Fantastic Apps for the Common Core | TeachHUB
The Common Core State Standards are here. These are the apps you need.
-
Have your students create their own story with this tool. They can create characters, dialogue and add theme music. When finished, you can watch the story unfold in a video format. Great for digital storytelling!
-
"...a multimedia project that immerses players in U.S. history content through free interactive games." Students can learn about the Revolutionary War and Slavery through these interactive games. Registration is required. Educators guides available on the site.
-
Encyclopedia of Life - Animals - Plants - Pictures & Information
Free online resource covering content about all life on Earth in all formats - text, video, photo, audio, maps, and more.
-
One stop resource for teachers! Find lesson and project ideas to use in science and math.
Digital Citizenship Resources

There are many great tools and resources online to help educators and parents learn about and address digital citizenship and cyberbullying with students. Below is a collection of digital citizenship sites with lesson ideas, tips for talking to your children and recommendations for Facebook privacy settings.
-
Provides information for educators, parents and students to become more familiar with what digital citizenship is and how become a better digital citizen.
-
Digital Citizenship and cyberbullying resources from Kevin Honeycutt
-
60-minute lesson plan - students learn about the digital footprint they leave when using various online tools. Lesson posted by the National Association for Media Literacy Education
-
Find lessons on digital literacy and citizenship appropriate for your students. Search by grade or digital skill.
-
Specific for grades K-6
-
An infographic on Facebook & Google+ privacy
-
Recommended Facebook privacy settings for teens. Contains charts you could share out.
*Image found at https://blogger.googleusercontent.com/img/b/R29vZ2xl/AVvXsEjHq90tHd1ygWoLkwSDMGdgMVY5Xl9oNCeMN12wMw0V8eH0snagUbbVpSJVeuL2Fiq4NkQwkgAzHqB_zouqjldrn4H_EjcQpTlyVn_xdxH_opd8poMwx7nAyWiBngtNjZIjWtgVArzab3c/s1600/digital+citizenship.jpg
Tuesday, February 12, 2013
Google Drive Offline


2. Click on Download Google Drive
3. Open the installgoogledrive.dmg (It might be in your downloads folder.)
4. Open the installation file and drag the Google Drive icon to your Applications folder
5. Open Google Drive from your Applications folder (You may receive a warning that Google Drive is an application downloaded from the internet. Click the Open button.)
6. Enter your school email account and password. This will be the account associated with Google Drive on you computer.
7. Launch Google Drive via the icon on your toolbar.
*Files must be in your My Drive on Google Drive online. If they are not in My Drive, they will not sync to Google Drive on your computer.
Step two - setting up offline access. Here's how:
*You can only enable offline access using the Google Chrome browser.
1. Click More
2. Select Offline Docs
3. Click the Enable offline blue button
4. Now click the blue button on the right that says Get the app. If you already have the app installed, you won't need to complete this step.
5. You'll be taken to the Chrome store. Click Add to Chrome in the upper-right corner.
6. Once the app is installed, you'll be taken to a Chrome page with the Google Drive app icon. To return to Drive, click the Google Drive icon.
Now when that pesky internet goes down, you'll be able to continue working on your documents. Any files you make changes to while offline will sync with a time stamp when you reconnect to the internet.
Internet Down image from https://blogger.googleusercontent.com/img/b/R29vZ2xl/AVvXsEhZoriHaU9QLodTGKZPQt1GP_6P7tnvfWT6vjVne_yfspO0msxxRjOKGnt2XRmEPDETNKR0Q0ranFyarHJOb26AxnQNLR6NKXYyu6c20ljIdZyp9uENurzuuSnTm-9I-zh0A00pHLh6R7s/s1600/Internet_down.jpg
Instructions for installing Google Drive found at http://support.google.com/drive/bin/answer.py?hl=en&answer=2375078&topic=2375002&ctx=topic
Instructions for setting up offline access found at http://support.google.com/drive/bin/answer.py?hl=en&answer=2375012&topic=2375002&ctx=topic